
10 Outdoor Garden Solar Light Buying Tips
Choosing an Outdoor Garden Solar Light is not just a matter of picking the brightest fixture. Your garden’s layout, sunlight, and intended use all affect what will work well. A path light needs a different beam and height from a fixture meant to highlight a tree or seating area. Notice where shadows fall in the afternoon. A panel placed under a leafy branch may collect less energy than expected, even if the spot looks sunny at midday.
Small details matter. Check the product’s stated runtime, charging conditions, brightness, materials, and warranty, but treat advertised performance as a guide rather than a guarantee. Weather, shade, season, and battery age can all change how long a light stays on. Ten practical buying tips can help you compare these details without getting distracted by dramatic claims or unnecessary features. They also encourage you to think about installation before ordering: will the stake fit firm soil, and can the panel face an open patch of sky?
A little skepticism helps. Solar lighting can be convenient, but it may not provide dependable illumination in every garden or climate. Consider testing one fixture before buying several, especially if your yard has heavy shade. The right choice should suit the space, not just the product photo. Ask what you need the light to do, then compare options against that real-world task.
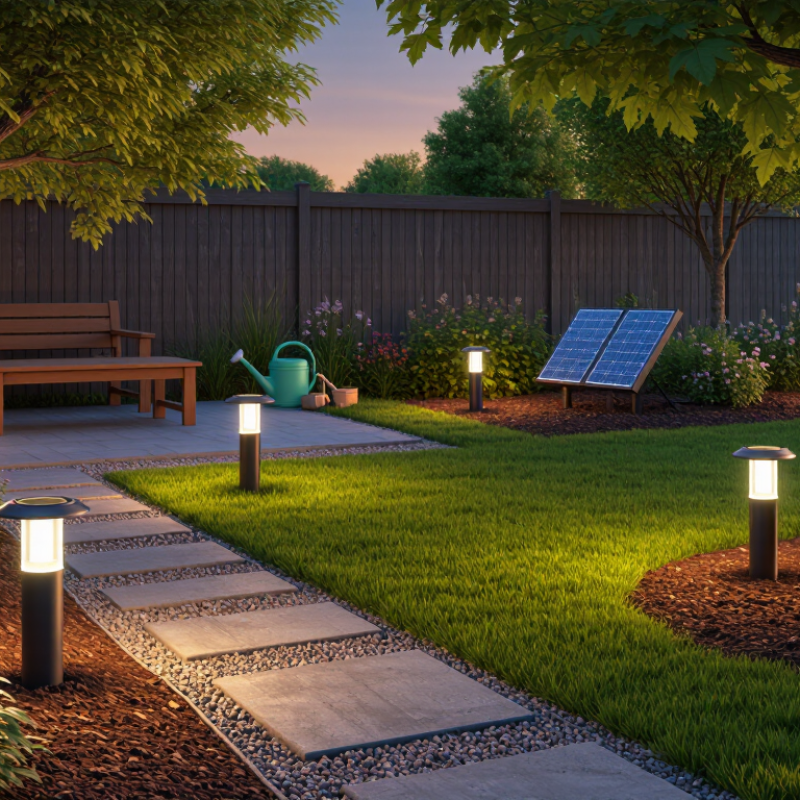
Define the Lighting Task: Compare Lumens, Beam Angle, and Mounting Height
Decide what the light must do before comparing models. A path marker needs gentle, even guidance; a light near steps needs a clearer view of each edge. Lumens describe total light output, but they do not tell you where that light lands. A high lumen rating can still leave a narrow path dim if the beam points elsewhere.
Check the beam angle alongside the lumen figure. A narrow beam concentrates light on a small area, while a wider beam spreads it across a path or planting bed. Mounting height changes the result, too. A light mounted higher usually covers more ground, but may seem less bright at foot level. Try placing a sample at the intended height, then walk the area after dusk. Notice dark gaps, glare, and shadows cast by leaves or railings. Small details matter.
There is no single lumen target for every garden; surrounding light, surface color, and shade all affect what feels comfortable. A pale stone path may look bright with modest output, while dark paving can absorb more light. Solar performance also varies with sun exposure and season, so treat published figures as a starting point, not a promise. Adjust the angle or height before adding more lights. It can take a couple of tries.
| Tip | Lighting Task | Typical Light Output | Useful Beam Angle | Typical Mounting Height | What to Check |
|---|---|---|---|---|---|
| 1. Light a garden path | Help people see the walking surface and path edges. | 10–50 lumens per path light | About 90°–120° for low, downward-facing fixtures | 12–24 in (30–60 cm) | Choose shielded or downward-facing optics to reduce glare. Space fixtures so their pools of light overlap lightly. |
| 2. Mark steps and changes in level | Make stair edges and small level changes easier to identify. | 5–30 lumens per marker | About 60°–100°, aimed at the tread or step edge | 6–18 in (15–45 cm) above the tread or beside the step | Prioritize even, glare-controlled light over high output. Position lights consistently on each step or at regular intervals. |
| 3. Illuminate a seating area | Provide comfortable ambient light for outdoor conversation. | 100–300 lumens per lantern or fixture | About 100°–180° for broad, diffused illumination | 5–7 ft (1.5–2.1 m) | Look for a diffuser or shade that softens the light. Multiple lower-output fixtures can feel more comfortable than one bright point source. |
| 4. Highlight a shrub or small tree | Accentuate foliage or a garden feature after dark. | 50–200 lumens per accent light | About 15°–40° for a focused beam; 40°–60° for broader coverage | Ground-mounted, aimed upward from the base | Match beam width to the feature: narrow beams suit small focal points, while wider beams spread light across broader foliage. |
| 5. Light a garden bed or border | Show plant shapes and define the edge of a planted area. | 20–100 lumens per fixture | About 60°–120° for a soft wash | 12–36 in (30–90 cm) | Check that the beam reaches the plants rather than shining directly into nearby windows or people’s eyes. |
| 6. Improve visibility at an entrance | Light a doorway, gate, or approach for everyday access. | 100–300 lumens for general entry lighting | About 90°–120° for a broad, practical spread | 6–8 ft (1.8–2.4 m) | Compare the fixture’s stated output with its sensor and operating modes. Motion-activated models may use more output briefly than in standby mode. |
| 7. Cover a patio or larger open area | Provide functional illumination across a wider outdoor space. | 300–800 lumens per area light | About 100°–140° for broad coverage | 8–12 ft (2.4–3.7 m) | Higher mounting can spread light farther but may reduce brightness at ground level. Check the manufacturer’s coverage guidance and test the placement. |
| 8. Light a wall or fence | Create an even wash on a vertical surface or mark a boundary. | 30–150 lumens per fixture | About 30°–90°, depending on the desired wash width | 2–6 ft (0.6–1.8 m) | For a smooth wall wash, use a wider beam and place fixtures at a consistent distance from the surface. |
| 9. Choose mounting height and spacing together | Balance coverage, brightness, and fixture count for the task. | Use the output range suited to the task above | Wider beams generally cover more area; narrower beams concentrate light | Follow the fixture instructions; test the intended height before permanent installation | As a starting point, avoid assuming that one light will cover a large area. Beam shape, obstacles, and mounting height all affect the result. |
| 10. Verify real-world solar performance | Ensure the selected light can maintain useful illumination where it will be installed. | Compare both stated lumens and runtime or operating modes | Confirm the beam is aimed at the surface that needs light | Place the solar panel where it can receive direct sunlight | Shade, season, panel orientation, battery condition, and cloud cover affect charging and runtime. Check whether the advertised output is continuous or a peak setting. |
| Planning note: Lumens describe total light output; beam angle describes how widely that light is distributed. The ranges above are practical starting points, not guarantees of ground-level brightness or coverage. | |||||