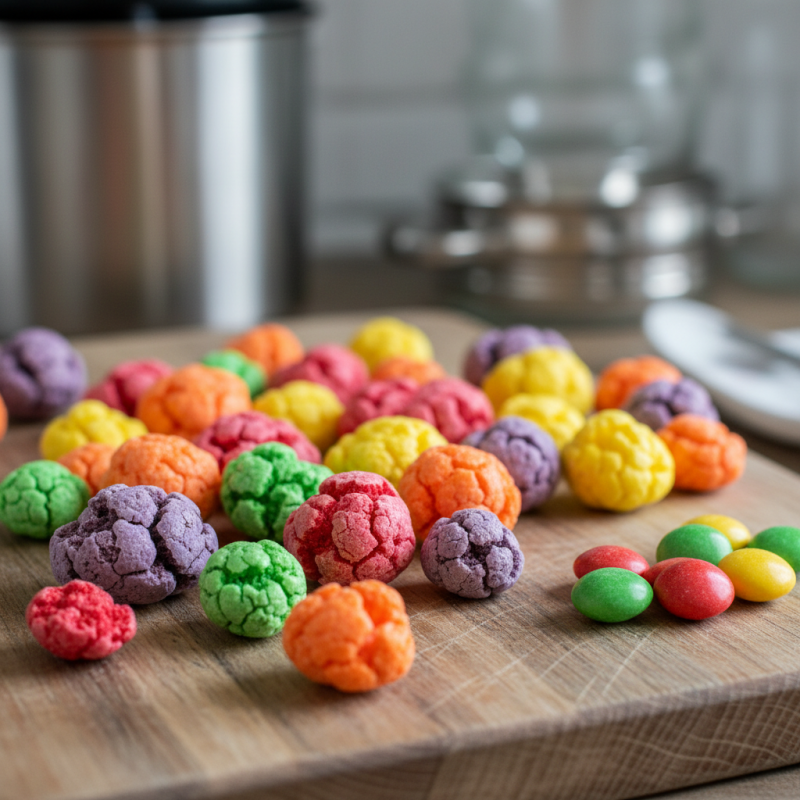
If you're a fan of unique treats, you’ve probably heard of Freeze Dried Skittles. These crunchy, fruity snacks burst with flavor. Making them at home can be exciting and rewarding. This process lets you transform regular Skittles into a new experience.
With a bit of patience and some specific tools, you can achieve a tasty result. It's not as hard as it seems! However, it requires precision and care. Ensure you use the right freeze-drying method. You may encounter some trial and error, and that's okay.
Freeze Dried Skittles can be fun for parties or just a personal snack. The change in texture and taste makes them quite addictive. Plus, they make a colorful addition to any dessert spread. Let’s dive into how you can create your own Freeze Dried Skittles at home and explore the delicious possibilities!
To make freeze-dried Skittles at home, you need specific ingredients and equipment. Freeze drying involves removing moisture while keeping flavors intact. The primary ingredient here is Skittles, of course. You'll also need to select a proper freeze dryer. This equipment varies in size and efficiency. Popular models offer options that can freeze dry small batches in less than 24 hours.
According to industry reports, freeze drying can preserve colors and flavors up to 97%. A solid freeze dryer can cost anywhere from a few hundred to several thousand dollars. For many home users, investing in a compact model makes the most sense. You might find it helpful to set aside time for this process. It can be trial and error initially. Sometimes the texture varies, and the result may not be what you expected. A precise temperature control plays a role. Lack of experience can lead to under-dried or over-dried candy.
You might consider experimenting with other candies, too. However, not all candies respond similarly. Some may become overly sticky or lose their allure. It's essential to note that the freeze-drying experience can be subjective. Patience is key. Document your process, as even small adjustments can lead to better outcomes next time.
Freeze drying Skittles at home can be a fun experiment. The process is simple, yet requires attention. You'll need a freeze dryer, which can be an investment. Reports show that home freeze dryers cost between $2,000 and $4,000. This means careful planning is essential before diving in.
To start, make sure your Skittles are in good condition. Lay them out on the freeze dryer trays in a single layer. This allows for even freeze drying. The machine will remove moisture while maintaining flavor and color. The expected drying time is around 24 hours. It's crucial to monitor the progress. Not all Skittles may dry perfectly. Some may stay chewy, which is part of the charm.
Tips: If you find some Skittles aren't drying as expected, consider adjusting their placement. Spacing them out can make a big difference. Another tip is to experiment with different temperatures. Higher settings can lead to quicker results, but they might alter the flavor. Also, remember that taking notes during each attempt helps refine your technique. Learning from small mistakes can lead to better outcomes in the future.
Freeze drying Skittles at home can be a fun project. To achieve the best results, it's essential to pay attention to a few details. Start with fresh Skittles. Old candies may not freeze dry properly. Each piece should be intact and vibrant.
When setting up your freeze dryer, ensure it's clean and dry. A well-maintained machine works better. Arrange Skittles in a single layer. Crowding can lead to uneven drying. Leave space between each candy to allow airflow.
For optimal results, consider the temperature. A lower temperature can preserve flavors. Monitor the process closely. Occasionally, check if they feel light and crunchy. If they are still chewy, they may need more time. Adjust the drying time based on your machine’s performance. Making notes during your attempt can help improve future batches. Remember, practice makes perfect!
When it comes to storing freeze-dried Skittles, it's essential to choose the right containers. Airtight containers work best to maintain freshness. Vacuum-sealed bags are another great option. They prevent moisture from ruining your treats. Remember to label your storage containers with the date. This small step helps you keep track of how long they’ve been stored.
Using freeze-dried Skittles can be fun and creative. Try adding them to baked goods or mixing them into trail mixes. The color and crunch can enhance any snack. However, you might find that they can clump together after being stored. Breaking them apart can be a bit challenging. Consider using a rolling pin or gently crushing them. This way, they’ll be easier to incorporate into recipes. Just be careful to enjoy them before they lose their delightful crunch.
Creating unique textures from Skittles can be an exciting kitchen experiment. There are alternative methods to enjoy these candies beyond freeze-drying. Using a dehydrator can yield interesting results, transforming chewy Skittles into crunchy bites with unexpected flavors. The process is simple, yet not always perfect. You may need to adjust temperature settings based on your machine.
Tips: Start with a single layer of Skittles. Monitor them closely. If you leave them too long, they might turn hard rather than crispy. A little practice goes a long way.
Another method involves baking. Set your oven at a low temperature, around 250°F. Spread Skittles on a parchment-lined baking sheet. Keep an eye on them as they melt. This can lead to interesting textures but may require creative experimentation. The melted version might not be what you expect.
Tips: Don't underestimate the potential of experimenting with flavors. Mix different colors for unique blends. Be aware of how long they bake. Burnt Skittles are not fun. Enjoy the creativity!
| Method | Ingredients | Duration | Texture Result |
|---|---|---|---|
| Oven Drying | Skittles | 3-5 hours | Crunchy |
| Freeze-Drying Machine | Skittles | 24 hours | Light and airy |
| Air Drying | Skittles | 48 hours | Chewy |
| Microwave | Skittles, Parchment Paper | 10-15 minutes | Soft and slightly sticky |
